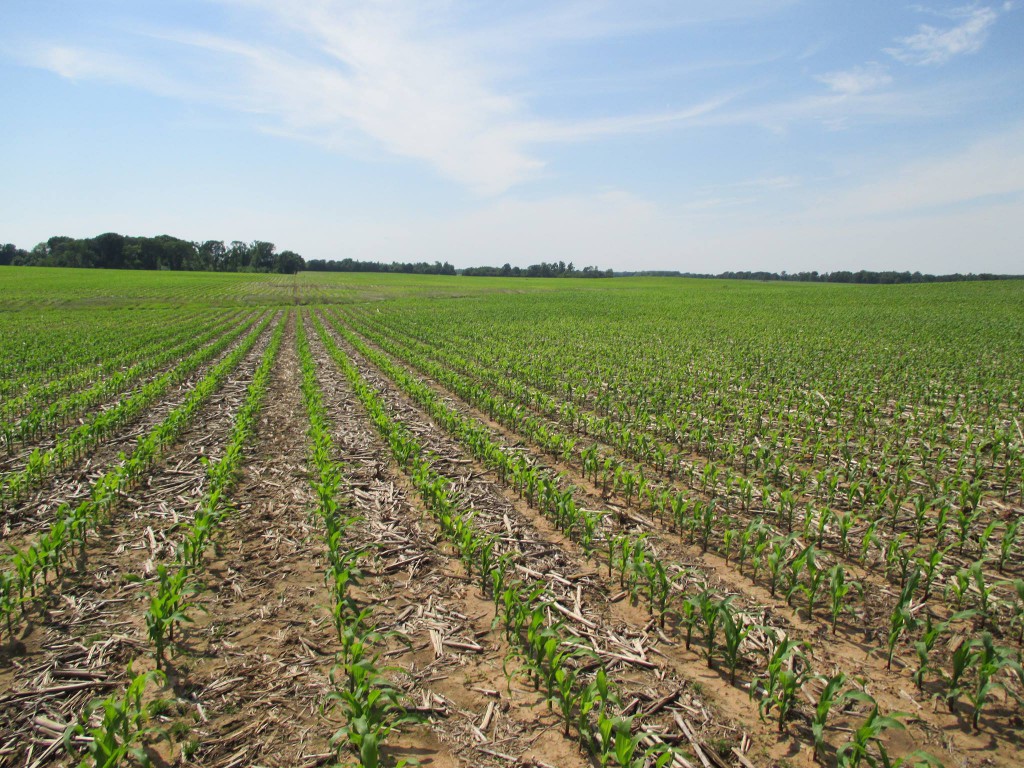
By Lauren Lazaro, UGA Extension Precision Ag Specialist
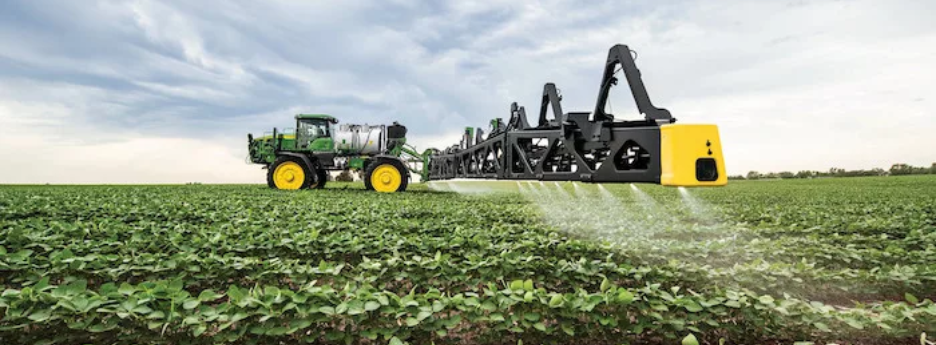
Prior to spraying this season, make sure your sprayer is in solid working condition before heading to the field. Start by reviewing the owner’s manual for recommended inspection steps and specifications. Make sure parts and joints are properly lubricated, machine fluids are at the proper level, filters are clean and in good condition, and tire mounting nuts are properly torqued and in good condition. Many boom suspension components require lubrication to ensure adequate movement and can have an impact on boom height control performance. Tires also deserve careful inspection: because sprayers operate at relatively high speeds and carry heavy loads, tires should be free of damage, properly inflated to manufacturer specifications, and in good overall condition to ensure safe and efficient operation.
Ensure to wear the appropriate PPE when cleaning your sprayer. Taking time to inspect and maintain your sprayer now is one step to preparing for a smooth spring.
Check Things Over
A sprayer should be cleaned after every use to avoid chemical build up and potential contamination. Below is a list of a few things to double check before spraying.
- Inspect the entire plumbing system to ensure there is no excess wear or sagging/kinked hoses. All hoses should be properly secured. Replace worn hoses or tie up any sagging hoses to make sure that the solution flow is not impeded. Spray solution can get caught in sagging hose lines.
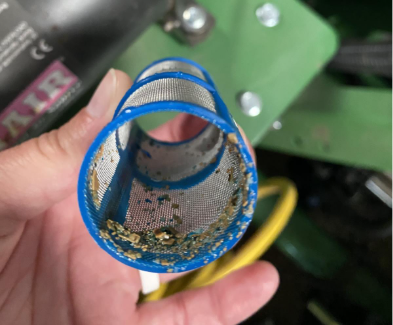
- Check and clean your sprayer strainers regularly. The strainers catch any particulates to help keep them out of the nozzle tips. Some sprayers have multiple strainers on the boom or chassis.
- Remove and check the end caps on the boom for buildup.
- Re-calibrate the flowmeter. Your local equipment dealer or rate control supplier can assist you with this process.
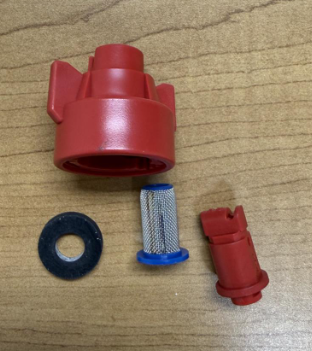
- Check all nozzle tips and nozzle bodies, including the strainers and O-rings. Ideally, these are replaced regularly.
- Check all fittings for any evidence of leaks or buildup.
Nozzle Selection and Setup
Spray nozzles are critical for a successful application. After determining your management program for the season, decide if the nozzles you have work well with those products. Some products, such as dicamba, have strict nozzle requirements, whereas other products, such as glyphosate, have more options. Once your nozzle is chosen, running the sprayer with water to evaluate nozzle performance before the season starts is a best practice. This allows you to check the flow through each nozzle. While this can be time consuming, it helps you identify worn, plugged, or damaged nozzles. The last place you want to discover a nozzle problem is in the crop field weeks after the application.
The two main calibration methods are:
- Using a tool like a Spot-On Calibrator
- Using the 1/128th of an acre sprayer calibration setup
Cleaning and preparation before and during the field season are important to ensure your nozzles are working properly. Before the season begins, the entire nozzle body needs to be taken apart and visually examined, including the O-rings, filters, and nozzle tips for wear and tear, clogging, and ensuring that all parts match across the boom. Remove nozzles, screens, and strainers, and clean separately in a cleaning solution.
Performing these pre-season checks can help to prevent issues and problems during the season, that may cause unneeded downtime during an already busy time of the season.